To organise a wine tasting at home, choose three contrasting wines, use small tasting pours and compare them with the same simple set of questions. You need clean glasses, water, somewhere to discard wine and a few notes—not specialist glassware or a perfect wine vocabulary.
The plan below is designed for four adults, but works for two or six. It includes a bottle calculation, three possible themes and a printable tasting sheet. The purpose is to notice differences and find out what you enjoy; nobody has to finish a sample or identify a grape correctly.
Choose one theme and three wines
Three bottles give a first tasting a clear shape without making the shopping list or table too complicated. Two wines are enough for a useful comparison as well. Choose one of these themes and ask a wine merchant to help find contrasting bottles within your budget.
| Theme | What to choose | Question to explore |
|---|---|---|
| Fresh and fuller whites | Sauvignon Blanc, unoaked Chardonnay and oaked Chardonnay | How do aroma, acidity and texture differ? |
| One grape, three places | Three wines labelled with the same grape, from different regions | Which differences can you notice without seeing the labels? |
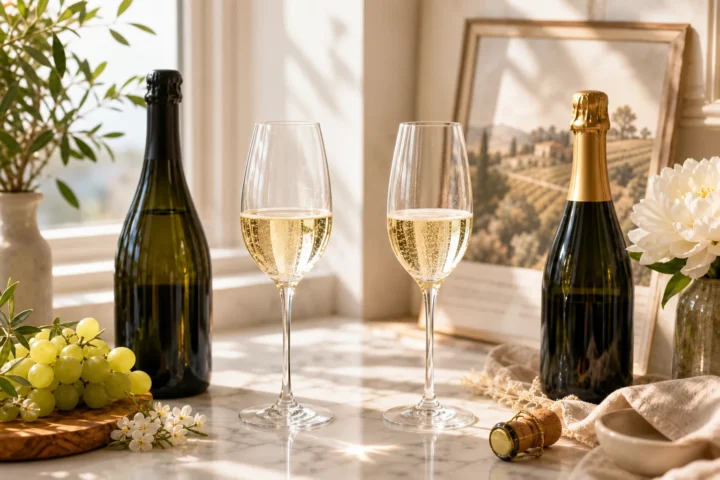
| Two sparkling styles | A Brut Prosecco and a Brut Champagne; a third sparkling wine is optional | How do fruit and bread-like aromas compare? |
Check the actual producer descriptions rather than assuming every wine from a region is made the same way. Our Chardonnay and Sauvignon Blanc comparison helps with the first theme; the Prosecco and Champagne guide explains the sparkling option.
How much wine do you need?
For planning, use 30 ml per person per wine as a small first sample. This is a practical measuring example, not a drinking target or a claim about a safe amount of alcohol. Pour less if preferred, make spitting or discarding easy, and offer an alcohol-free option.
The calculation is straightforward: number of tasters × sample size = wine needed from each bottle. Four people tasting a 30 ml sample need 120 ml of each wine. One standard 750 ml bottle of each selection therefore provides more than enough for the initial comparison, with wine left over.
| Tasters | Needed from each bottle | Across three wines |
|---|---|---|
| 2 | 60 ml | 180 ml total for the group |
| 4 | 120 ml | 360 ml total for the group |
| 6 | 180 ml | 540 ml total for the group |
For a small household, consider half-bottles or smaller tasting formats where available. You do not need to empty full bottles to justify opening them. Decide how you will close and store the remainder before starting, and arrange transport that does not depend on anyone drinking and then driving.
Set up the table
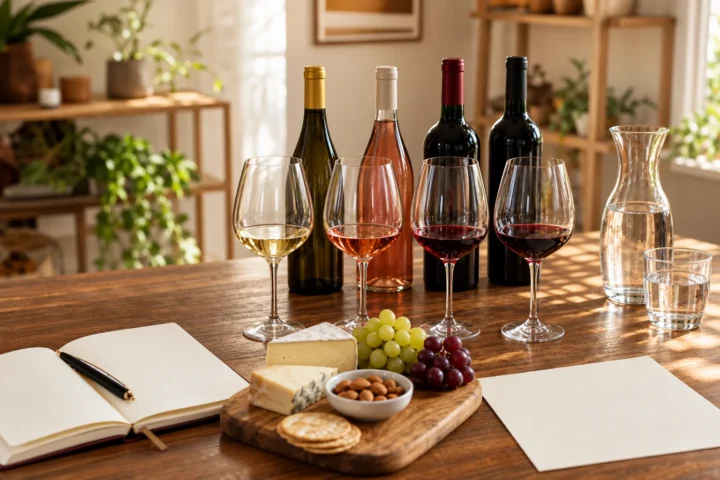
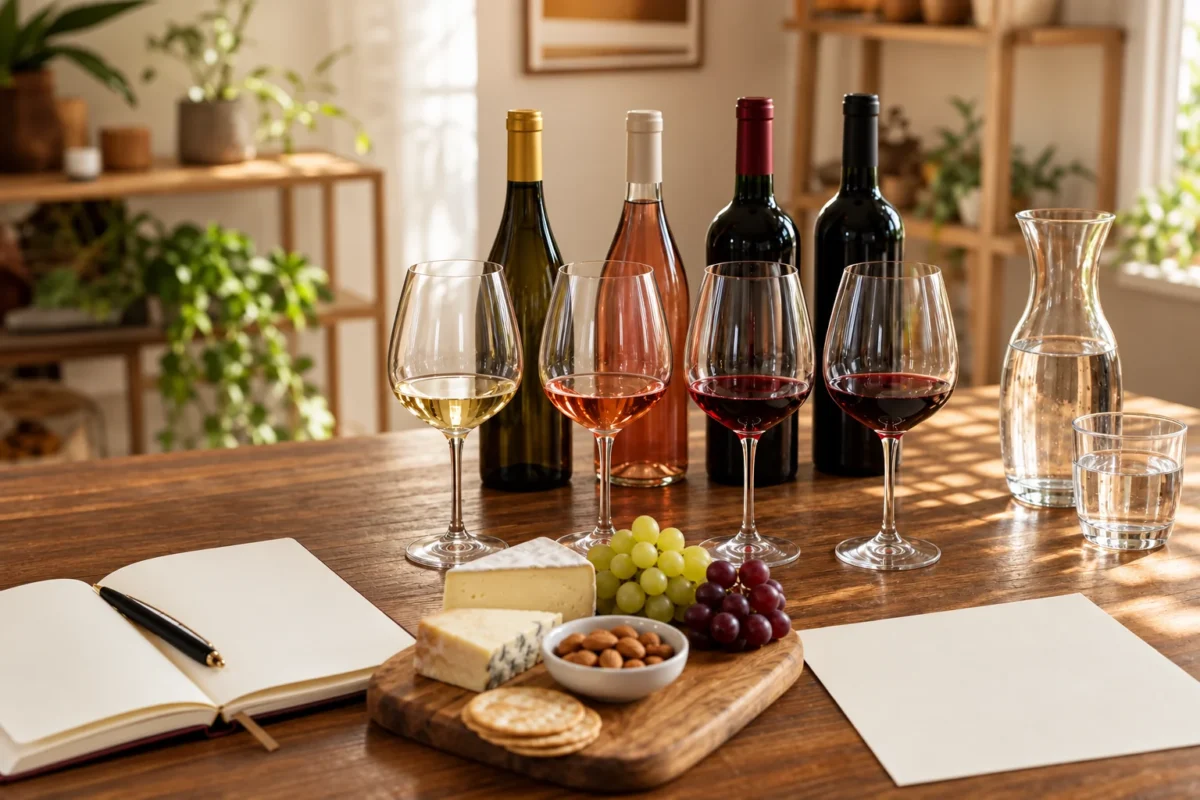
Put the same type of glass at each place. One glass per wine makes comparison easier because you can return to an earlier sample. If you only have one per person, work through the wines in sequence and rinse and drain the glasses between them.
- Clean, odour-free wine glasses and separate water glasses.
- Water, plain bread or crackers, and food to serve alongside or afterwards.
- A stable discard jug or individual spitting cups.
- A white sheet of paper, a pen and the tasting notes template.
- A corkscrew if required, bottle closures and somewhere cool for the wines.
Keep scented candles and strong cooking smells away from the tasting area. WSET’s advice on preparing for a tasting recommends a neutral environment, water and access to a spittoon. Take a short pause if an aroma becomes difficult to distinguish; you do not need to force a description.
Decide the order and serving temperature
For the three-white-wine theme, try the lighter, fresher examples before the richest oaked one. If you mix colours and styles, start with the more delicate dry wines, move towards fuller ones, and usually leave sweet wines until later. Treat this as a useful starting order, not an unbreakable rule: colour alone does not tell you how powerful a wine will taste.
Chill sparkling and white wines. Give fuller whites a little more time out of the fridge if their aromas seem closed. Keep reds away from radiators and sunny windows; a warm sitting room can be warmer than an ideal serving temperature. WSET’s temperature guide explains why both overheating and over-chilling can obscure a wine’s character.
You can also learn something by returning to the same small sample after a few minutes. Record whether its aroma or texture seems different as it warms slightly, rather than assuming your first impression is final.
Taste each wine with four questions
Give everyone a quiet minute to make an observation before discussing it. This makes it easier to notice your own impressions instead of searching for the exact fruit somebody else has just named.
- What can I see? Tilt the glass over white paper and note the colour. Keep the observation descriptive; a deeper colour does not automatically mean a better or sweeter wine.
- What can I smell? Smell it, gently swirl, then smell again. Start broadly—fruit, flowers, herbs, toast—before looking for a more specific word.
- How does it feel? Take a small sip if you wish. Notice sweetness, mouth-watering acidity, weight and any drying grip from tannin. Spit or discard the sample if preferred.
- What would I choose it for? Write one practical sentence: perhaps “I would serve this with a light lunch” or “the oak is stronger than I enjoy”.
WSET’s guide to developing tasting skills makes a useful distinction between flavour descriptions and a wine’s structure. If you cannot name the fruit, noticing that one wine feels sharper or fuller is still a valuable comparison.
How to write useful wine tasting notes
Download Sommblog’s printable wine tasting sheet (PDF), or copy these prompts onto paper:
- Wine name, grape, region, vintage and date tasted.
- Two aromas I noticed.
- How it felt: sweetness, acidity, weight and any drying grip.
- One thing that changed when I tried it with food.
- Would I choose it again, and for what occasion?
Try each wine on its own before adding food, then use the same bite with each sample. A piece of plain cheese, a little bread or a simply prepared vegetable can make the comparison manageable. Check dietary needs when preparing the table. You are looking for how the combination changes your experience, not trying to prove that a pairing is universally correct.
Turn a list of flavours into a useful comparison
Separate observations from preferences. “High acidity, light body, lemon-like aroma” describes your impression of the wine; “I would choose this with lunch” records how you might use it. Keeping those ideas separate lets you dislike a style without treating it as a faulty wine.
Start with broad terms you can recognise. If “citrus” is clear but “lime” is uncertain, write citrus. A short accurate note is more useful than a long list borrowed from another taster. Return to the same glass after a few minutes and add a second observation if something changes.
| First note | More useful note |
|---|---|
| Very fruity | Fresh apple and citrus aromas; fruit is more noticeable as the glass warms |
| Sharp but nice | Noticeable mouth-watering acidity; I preferred it with the cheese |
| Heavy | Fuller texture than the first wine; toast-like aroma and a longer finish |
Record the conditions as well as the wine
Note the serving temperature approximately, whether the bottle was just opened, and what food you tried. These details explain why another encounter may feel different. You do not need a precise thermometer reading to record “straight from the fridge” or “after ten minutes in the glass”.
Use a comparison question for the next tasting: do I prefer the unoaked or oaked style, or which sparkling wine works better with the same food? Our serving-temperature guide and decanting guide help you change one condition at a time. Keep completed sheets with a label photograph so they are easy to find when shopping.
A relaxed schedule for the evening
Allow roughly an hour for three wines, conversation and a food comparison. This is an adaptable hosting plan, not a pace anyone needs to keep up with.
- Before guests arrive: chill the wines, set out glasses and print the sheets.
- First ten minutes: explain the theme and show everyone the water and discard cups.
- Next twenty to thirty minutes: compare the wines, making notes before discussing them.
- Remaining time: try the food, reveal any covered labels and share preferences.
For an optional blind comparison, cover labels with paper bags and number the bottles. Keep a separate key and leave allergy or ingredient information available. Ask which wine people prefer before revealing names or prices; there is no need to turn the evening into a test.
Can you do this with only two wines or online?
Yes. Two contrasting wines are enough to explore a question such as oak versus no oak. For an online tasting, agree the bottles or styles in advance and use the same note prompts. If everyone has different wines, compare observations without pretending that the group is assessing the same bottle.
At the end, photograph the labels and keep the notes together. One specific preference you can remember next time you shop is a useful result from a first tasting.
Image: AI-generated editorial illustration, not a photograph of a tested recipe or a reviewed bottle.